
Microsoft Money is one of the most useful money organizing and tracking software available today. This program tracks your savings, checking and other banking accounts, as well as your credit card account(s) and any other assets which you posses.
To start this program, go to Start-Programs menu and locate and click on "Microsoft Money". The program will then start.
In this lesson, you will learn how to set up an account to track, as well as entering in data into your account.
The following is the opening screen which you will encounter when you start the program:
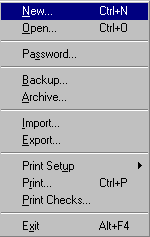
Go to the file menu and select "New" to create a new account.
Type in a file name for your new account where indicated in the following picture-

After pressing "OK" you will get the following screens- enter in the information as requested and press "Next>" to get to the next screen.
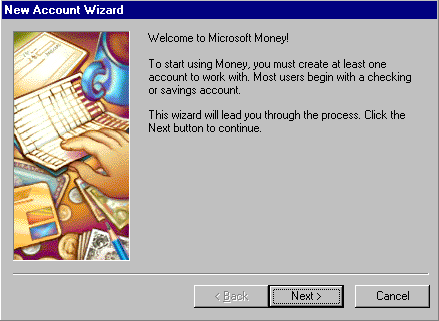
Note all the different types of accounts you can set up. I will use a Savings account for my example.
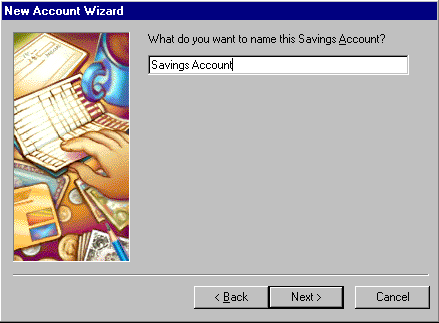
Enter in a name for your account. I called my account "Savings Account".
Type in the ending balance of your account.
You have now completed setting up your account. Press "Finish" to work with your account:
You will then get this screen. This is the screen which you enter in information to your account.
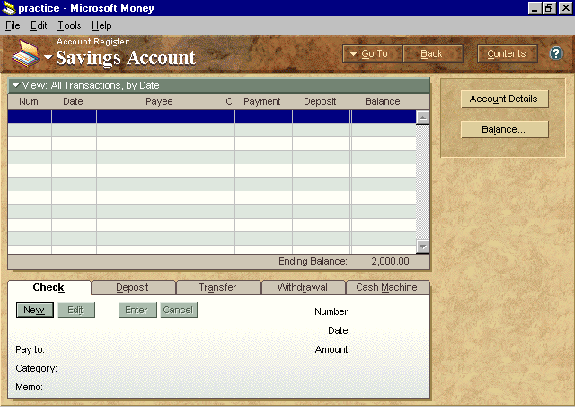
On the bottom of the screen are several boxes: "Check", "Deposit", etc… We will now type in some sample information for each of these categories. To fill out any of these boxes, just type in the requested information in the appropriate boxes. Then press "Enter". You can also cancel the information by clicking on "Cancel". Later, you can "Edit" your information to correct it. From each box, you can select a "Category" using the down arrows to the right of the category boxes. This will list a bunch of categories to choose from.
This is a sample check information. Note how I used the "Gifts" category. Also, the memo is optional!
This is a sample deposit information:
This is a sample transfer information. Note. To transfer from one account to another, you must have another account previously set up. I have another account which I previously set up, which is called "Credit Card Account". Here I am transferring $0.00 from my Savings Account to my Credit Card Account.
You can also type in Withdrawal information:
As well as Cash Machine/ATM information:
Once done typing in this information, the box above will list the activity of the account, as well as show the balance of the account.

You can highlight any activity and choose edit from the menu below
which has the "Check", "Deposit", etc…
information.
To the right of the screen you will notice the following icons:

You can choose "Account Details" to view and edit the details of your account as shown below:
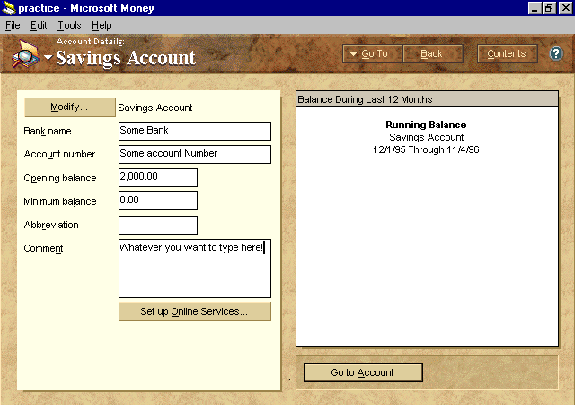
Once done, click on "Go to Account" at the bottom right of the screen.
Next, you can click on "Balance" to have the computer help you balance your account.
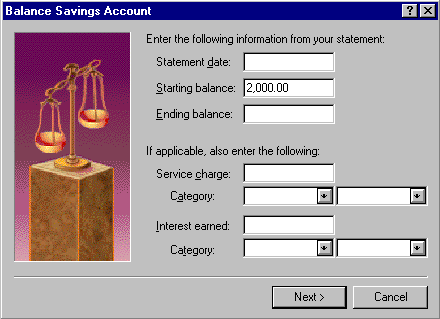
To return to the "Account Register" page (the screen with all the information on the activity of your account as well as the screen where you type in the "Deposit", "Check" etc… information) just click on "Cancel" or "Back" from any of these screens. Once back at the Account Register page, you can switch from one account to another (i.e. from Savings Account to credit Card Account) by clicking on the down blinking arrow next to the word "Savings Account". If you don't have an additional account set up yet, there won't appear any additional account. Since I have a Credit Card Account set up already, I will click on it to view my Credit Card Account information.
Under the credit card information appears the transfer which I entered from my Savings Account.
From a Credit Card account, you have similar options for entering in information. However they are named "Charge":
"Credit" (for payments or Credit):

as well as transfer. For each different account, there might appear
different options for entering in information.
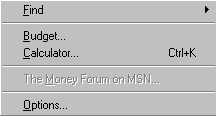
The "Tools" menu consists of a calculator as well as an easy way to access the "Budget" menu.
From the File menu, you can choose to "Print Checks" if you have computer checks available to print on using your printer as well as a checking account set up (you can obtain information on purchasing computer printer checks from Microsoft by choosing "Ordering Checks" from the Help menu of Microsoft Money). You can also place a "Password" on your account to restrict access to your account information, as well as "Backup" you account.
To return to the main opening screen, click on "Back". There, you will also notice other options available. You can use the "Planning Wizards" menu to do the following:
You can use the "Report and Chart Gallery" to create charts on your income and spending as well as several other fancy economical charts.
Also available is Home Banking, with which you can pay checks from your home (through your bank), as well as receive the balance and account details of your banking account, if your bank participates in the Home Banking program. For more information and information on setting up Microsoft Money for Home Banking, contact your bank.
We have just briefly touched on the many options and tools available under Microsoft Money. Don't forget to explore this useful program later in your computer use. For any additional help, go to the "Help" menu, which has some very useful as well as helpful topics and suggestions.
For now, go to the "File" menu and click on "Exit" to exit Microsoft Money.